Whether you’re promoting your reports from development to testing (aka staging or QA) to production or your database has changed, there’s no longer a need to open each report in Crystal Reports designer and repetitively change their data source one at a time per Crystal Report.
This can be quickly and easily done using the Change Data Source tool.
- In the main reports grid, select report(s) for which you wish to perform this on.
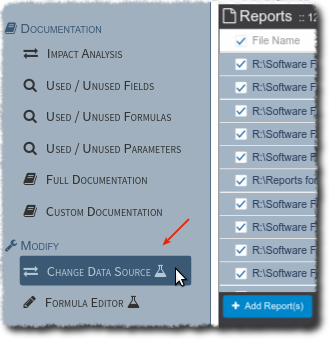
- Click on the Change Data Source tool in the Modify area of the left side navigation.
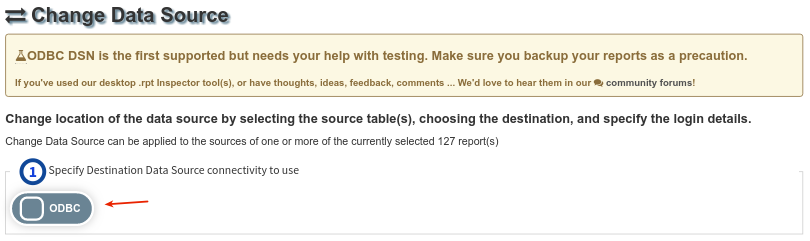
- Once the Change Data Source tool page opens, it’s a simple 4 step process. For step 1, in the
Specify interaction to performtick on ODBC
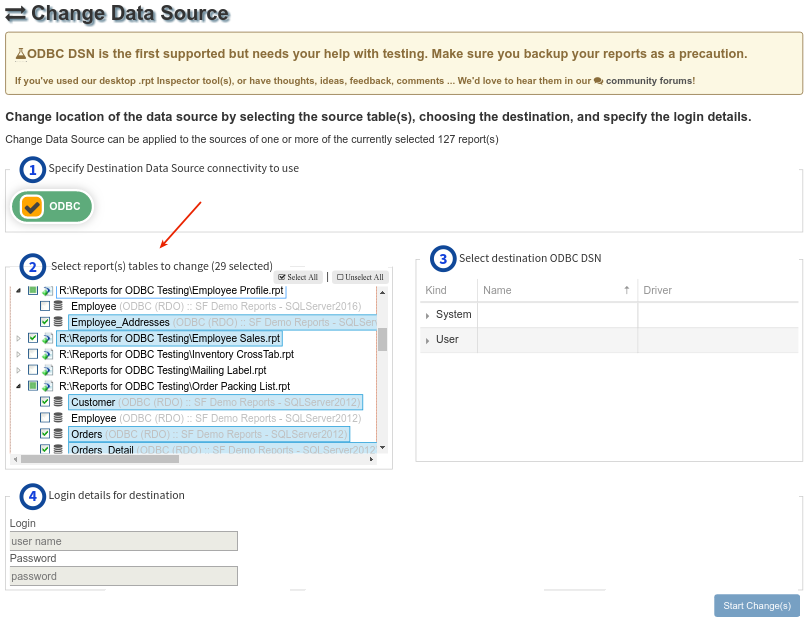
- Expand the report(s) in the left pane under step 2, to select the specific Crystal Reports tables you wish to change the ODBC DSN data source.
a. Selecting report(s) will automatically select all of their tables.
b. The existing data source and connectivity method is shown next to each table in light gray
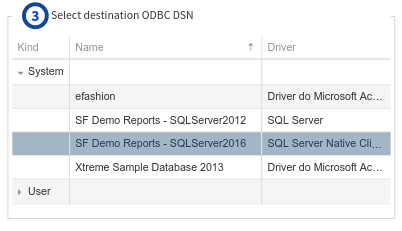
- Select the destination ODBC DSN in the right pane under step 3.
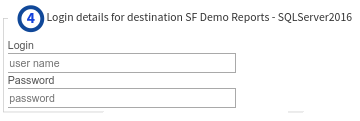
- Optionally, if your destination ODBC DSN requires a login, specify the
user nameand/orpasswordin the left pane under step 4.
- Once you’re satisfied with your selections, click on the
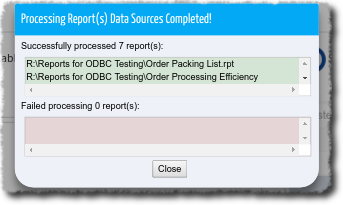
Save Change(s)button. This is disabled until the source(s) and destination(s) are specified. - Processing of the report(s) will begin and once completed a results dialog will be displayed showing the results.